

/https%3A%2F%2Fassets.over-blog.com%2Ft%2Ftwentyeleven%2Fimages%2Fpine-cone.jpg "Latest Tech News, Mac News, Android Devices, Popular Smart Phones, Camera and Camcorders and Useful Tips and Guides")
How to Transfer Music From iPhone to iTunes
Published on January 12 2016

Even though Apple has made it as easy as legally possible to sync your iPhone or iPad to your laptop via iTunes, there comes a time – say when you format your hard drive or get a brand new machine – when your old iTunes library is no longer available and you are forced to wipe all of your precious data from the phone in order to sync it again.
Naturally, you would want to transfer the data from the phone or tablet back to your PC before erasing everything. In this article we’ll take a look at two ways of solving the problem: one is free and the other is paid.
How to Transfer Music From iPhone to iTunes – The Free Way
You will need:
- A Windows computer with the latest iTunes installed.
- iFunBox 2014 – Link
- Optionally: Music Tag Finder – Link
- An iPhone or iPad with music that needs to be saved
Let’s start

1. Connect your device to your PC and choose Trust on your iPhone or iPad if connecting for the first time.

2. If iTunes pops up, close it.
The iFunBox bit:

3. Go to http://www.i-funbox.com and download the latest version of iFunBox.

4. Install iFunBox 2014 on your PC.

5. Open iFunBox.
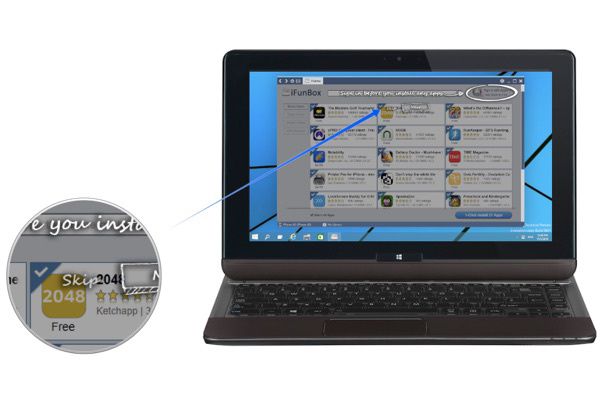
6. Dismiss the tutorial screen.

7. Click on your device in the lower left corner of the window.

8. Dismiss the tutorial screen.

9. Click on your device’s name.

10. In the Export Media section, click on Music.

11. Choose a folder as a destination and press Save. We recommend creating a temporary folder to store your music.

12. Wait for the exporting process to complete.

13. Close iFunBox.
At this point you have your music in the temporary folder, however it doesn’t have any ID3 tags, so no song/album/artist information would be displayed in iTunes. If that’s not an issue for you, you can skip the next bit:
The Music Tag Finder bit:
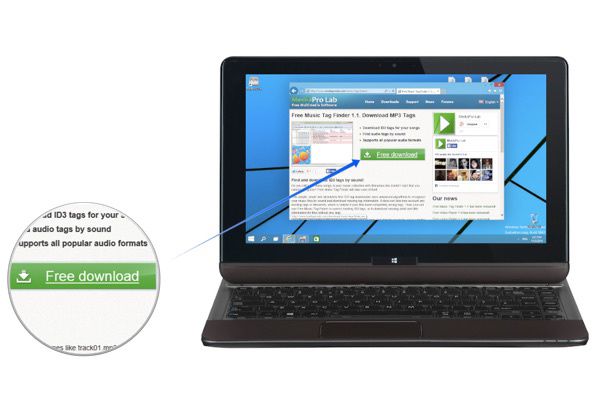
14. Go to http://www.mediaprolab.com/music-tag-finder/ and download Music Tag Finder.

15. Install Music Tag Finder.

16. Launch Music Tag Finder.
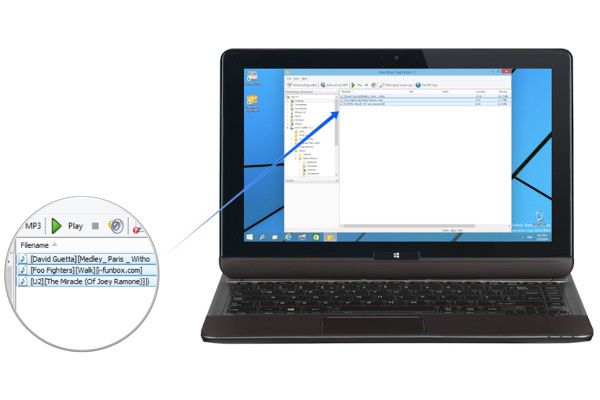
17. Navigate to the folder containing your tracks and select them all by pressing Ctrl+A

18. Press the “Find ID3 Tags” button and wait for the process to continue.

19. When you deselect your tracks you will notice that some have green backgrounds. Those are the tracks that the app has managed to locate and update the information of.
The rest unfortunately will not be automatically corrected, but at least you can identify each track by its filename.

20. Close the app.
The iTunes bit:
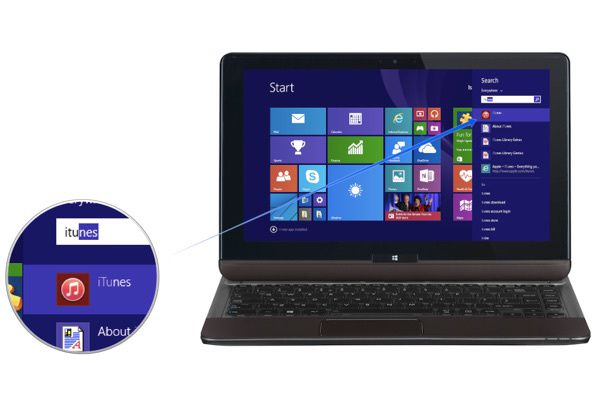
21. Open iTunes and minimize it.

22. Open your temporary folder and cut all items inside by pressing Ctrl+A followed by Ctrl+X.

23. Navigate to your home directory followed by Music > iTunes > iTunes Media > Automatically add to iTunes and paste your clipboard inside the folder by pressing Ctrl+V.

24. In a few moments items from the folder will start disappearing and appearing in your iTunes library. Restore the iTunes window.

25. You may optionally try to retrieve some album artwork by selecting all albums by pressing Ctrl+A, right clicking on a selected item and choosing Get Album Artwork. Note that you’d have to be logged in with your iTunes account to use this function.

26. When prompted, choose Get Album Artwork.
Tip: You can manually change the ID3 tags and add album artwork in iTunes. Just choose “Get Info” when right-clicking a song or an album.
How to Transfer Music From iPhone to iTunes – The Paid Way
Tip: Even though the software discussed below is paid, its free trial may be able to handle your music collection.
You will need:
- A Windows computer with the latest iTunes installed.
- TouchCopy – Link
- An iPhone or iPad with music that needs to be saved
Let’s start

1. Connect your device to your PC and choose Trust on your iPhone or iPad if connecting for the first time.

2. If iTunes pops up, close it.
The TouchCopy bit:
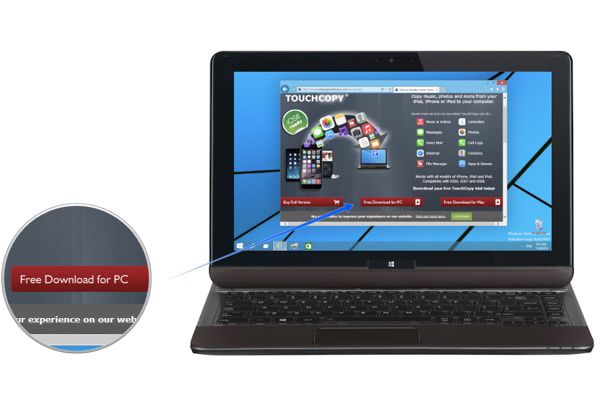
3. To go http://www.wideanglesoftware.com/touchcopy/ and download TouchCopy.

4. Install TouchCopy and launch it.

5. Wait for TouchCopy to detect your device.

6. Make sure that the Music tab is active and also ensure that “All” is the active option in Genres, Artist and Albums.
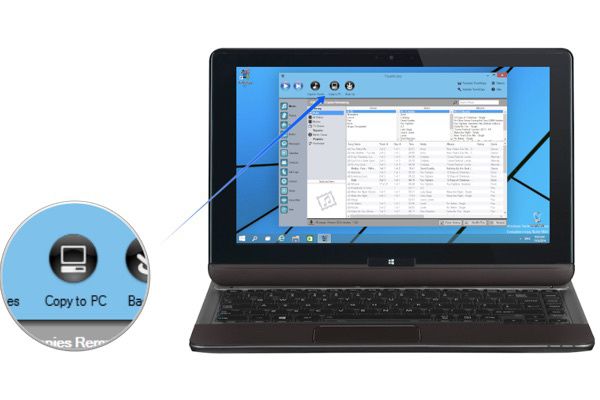
7. Click the Copy to PC toolbar button.
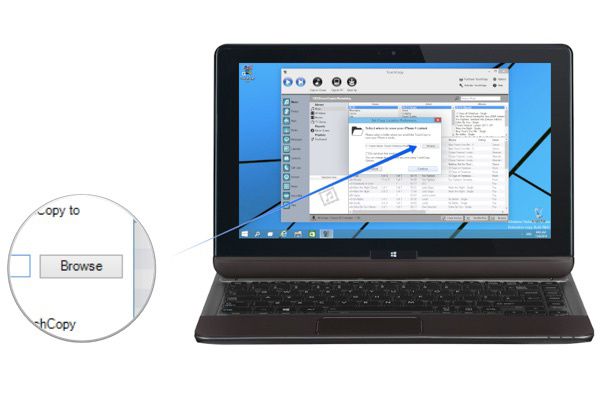
8. Choose a destination folder and press Continue.

9. Wait for the file extraction to complete.
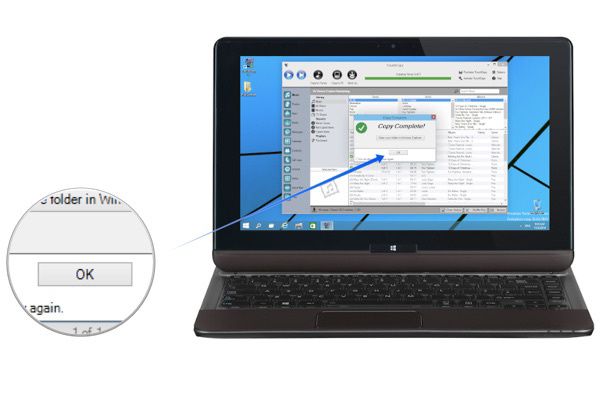
10. Press OK to dismiss the transfer completion window and close TouchCopy.
The iTunes bit:

11. Navigate to your home directory followed by Music > iTunes > iTunes Media > Automatically add to iTunes and drag or paste the folder with your music inside.

12. Launch iTunes.
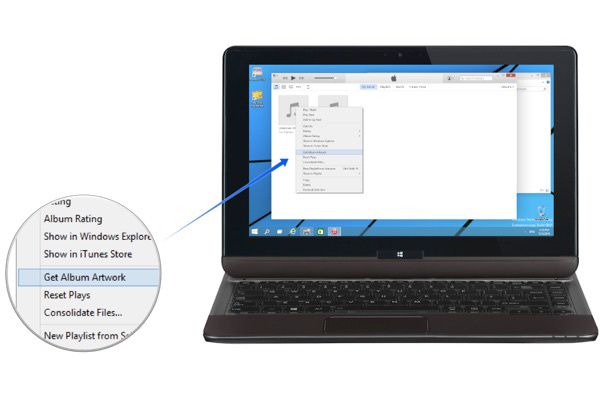
13. You may optionally try to retrieve some album artwork by selecting all albums by pressing Ctrl+A, right clicking on a selected item and choosing Get Album Artwork. Note that you’d have to be logged in with your iTunes account to use this function.
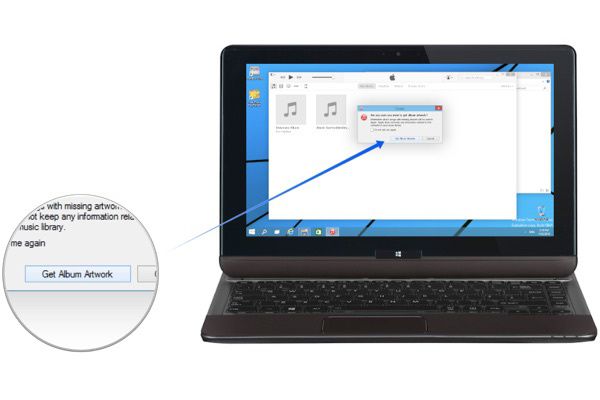
14. When prompted, choose Get Album Artwork.
Tip: You can manually change the ID3 tags and add album artwork in iTunes. Just choose “Get Info” when right-clicking a song or an album.
Article Source: How to Transfer Music From iPhone to iTunes